
Auto-Cut Speech by Silence - Browser Guide
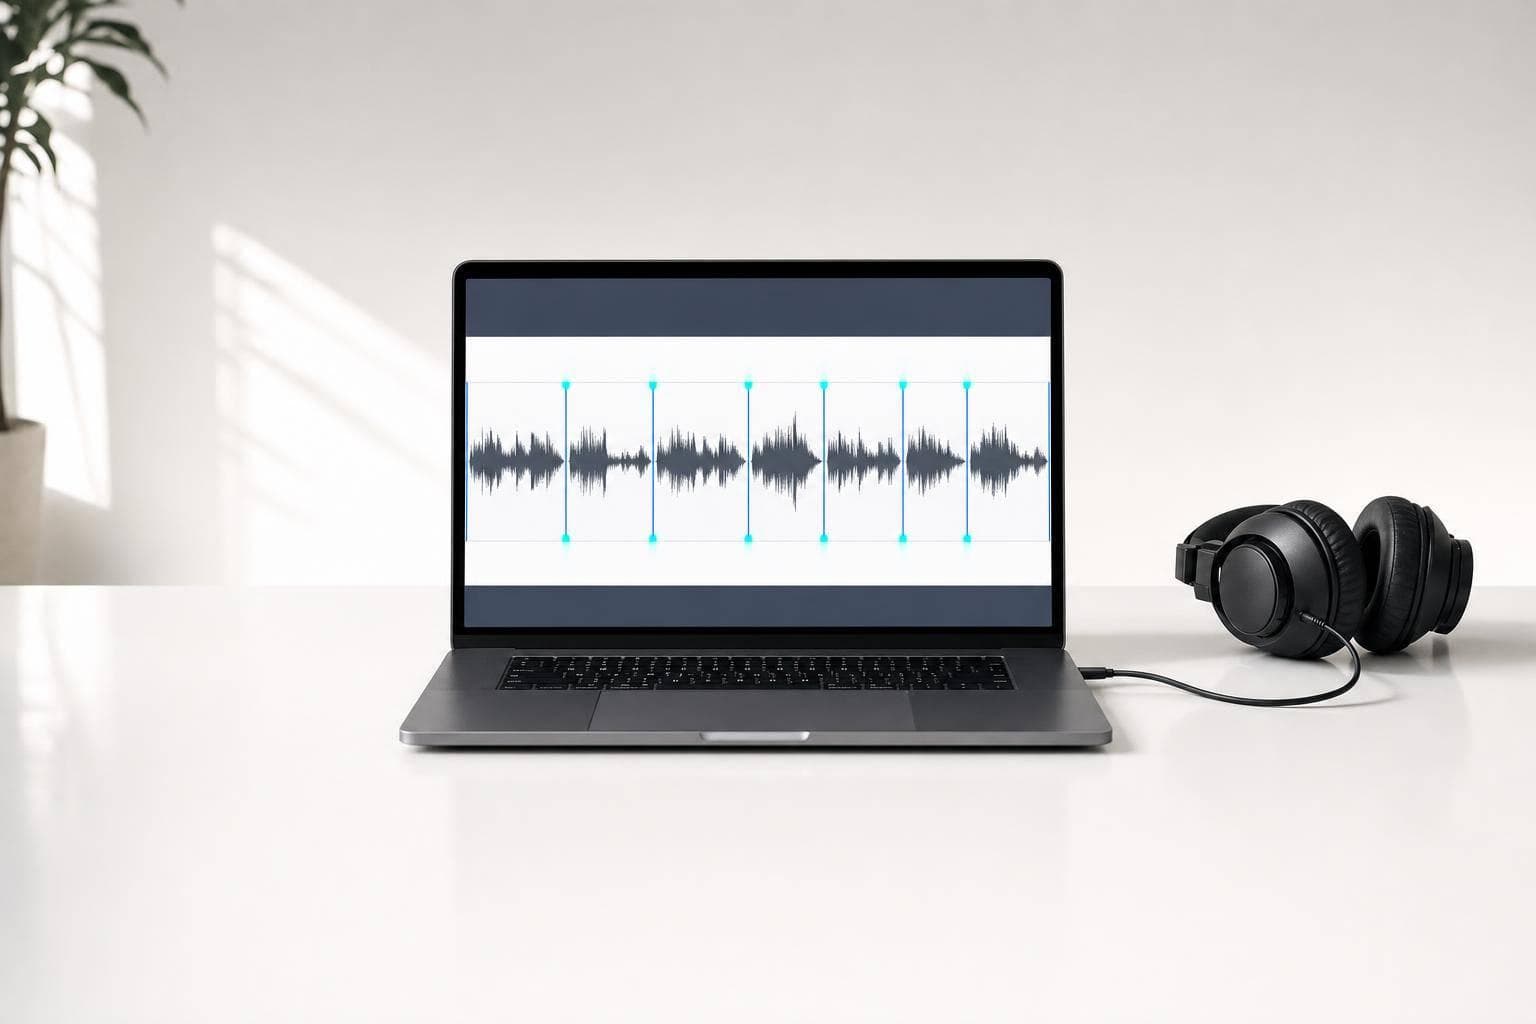
You can turn one long recording into many speech clips in a single browser session. I’d open the file, check that pauses are visible in the waveform, run silence detection, fine-tune cut points, rename clips, and export them as MP3 or WAV without sending the audio off my device.
Here’s the short version:
- I use this when I have one long file and need many clips
- It fits speech audio like lectures, interviews, podcasts, meetings, voice memos, and readings
- The main job is simple: find quiet gaps, split the file there, then clean up the cut points
- If the recording is 8 minutes or longer, Auto-Cut controls appear with presets and sliders
- I’d pick a preset first, then adjust:
- Window
- Minimum clip length
- Keep inside
- Split after
- After the first pass, I’d listen for:
- clipped words
- cuts that feel too early or too late
- clips that should be merged
- long clips that should be split
- For export, I’d choose MP3 for smaller files or WAV for full-quality copies
A few facts matter here. The app can open 6 common audio types: MP3, WAV, M4A/AAC, OGG, FLAC, and AIFF. It also gives 4 preset controls for speech cutting, plus local batch export. And for a small number of edge cases, some browsers can show word-level timing with a local Whisper-based model.
If I wanted the smoothest result, I’d do two things before anything else: make sure the waveform is fully loaded, and check that speech sections look louder than the pauses. That one check often tells me whether auto-cutting will work well or need more hand-fixing.
In short: this is a local, single-file workflow for splitting speech by silence, not a full editing studio.
How to Auto-Cut Speech by Silence in Your Browser
Open your recording and prepare it for auto-cut
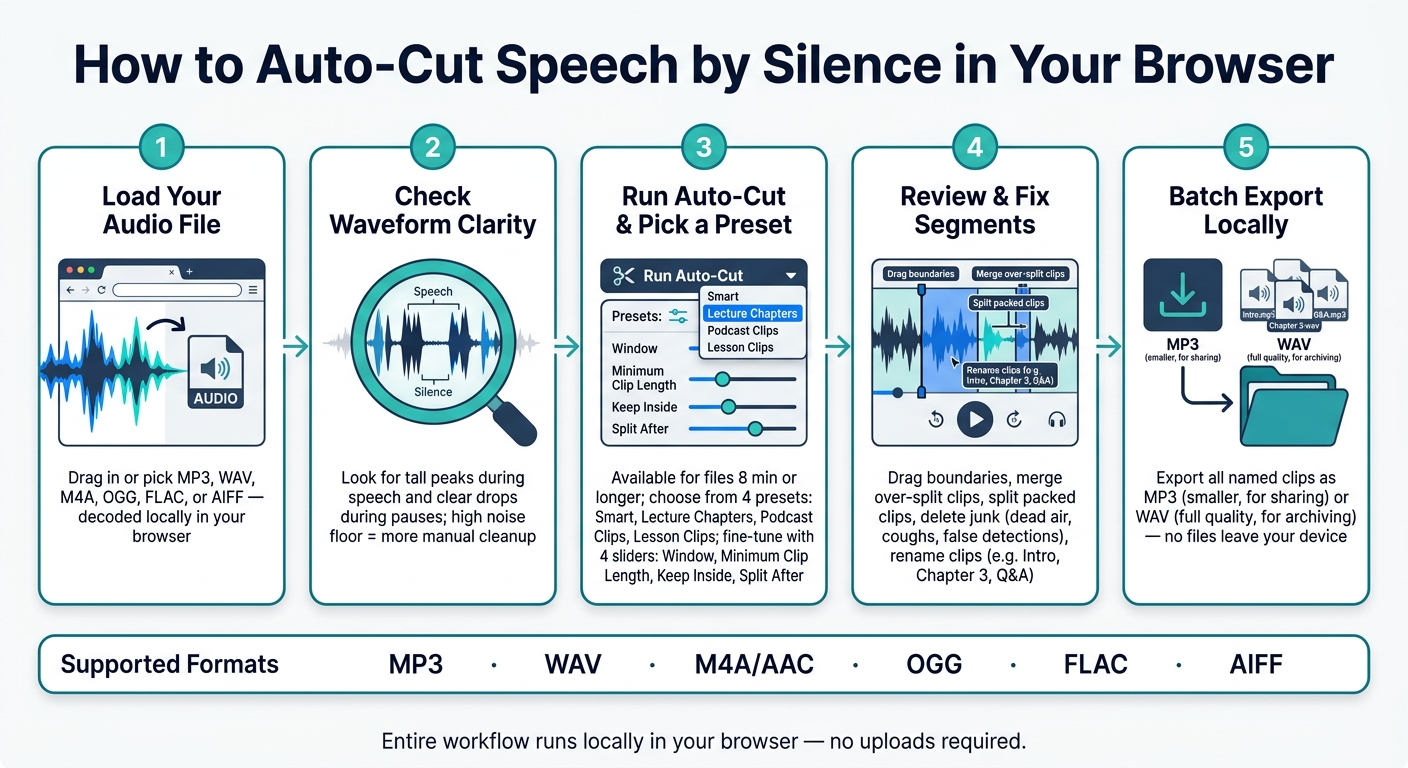
Load MP3, WAV, M4A, OGG, FLAC, or AIFF
Load your file by dragging it in or picking it from the file picker. Both options do the same thing: your browser reads and decodes the file locally.
Before you run silence detection, wait for the waveform to finish drawing and make sure the playhead responds. If decoding hangs, close tabs that are eating up memory and reload with a smaller test file.
MP3, WAV, M4A/AAC, OGG, FLAC, and AIFF all open without conversion. WAV and FLAC tend to preserve silence boundaries better for detection, but they can take longer to decode.
If a file won’t load, export it again as a 44.1 kHz WAV or MP3 and try one more time. Once the file is stable, look over the waveform and check for clean gaps between spoken parts.
Check waveform clarity before running detection
Before using Auto-Cut, scan a few parts of the recording. You’re looking for two things: a clear difference between speech and silence, and any background noise that could blur that line.
A good waveform usually shows tall, packed peaks during speech and quieter sections during pauses. If the waveform looks like one solid brick, the noise floor may be too high for clean silence detection. Zoom in on a quiet section between two spoken lines. If you can see a clear drop in amplitude, that’s a good sign.
Also check for uneven speaker levels. A quiet speaker’s pauses can look like speech, and their speech can look like silence. If the waveform still looks uneven, Auto-Cut will likely need more manual cleanup later as part of a faster podcast clip workflow. Clear speech-to-silence contrast is what makes preset-based cutting work well.
sbb-itb-9696877
Run silence-based Auto-Cut and pick the right preset
Once the waveform looks clean, you can run detection. If your file is about 8 minutes or longer, the Auto-Cut controls show up below the waveform. You’ll see a preset picker plus four sliders for tuning the results. From there, choose the preset that fits your recording best.
Pick a preset for speech, lessons, podcasts, or longer gaps
Start with the closest preset, then tweak from there if needed.
| Preset | Best For | How It Behaves |
|---|---|---|
| Smart | Mixed or unclear recordings | Balanced defaults |
| Lecture Chapters | Classes, long talks, courses | Waits for real section breaks |
| Podcast Clips | Interviews, podcast episodes | Targets longer thematic beats |
| Lesson Clips | Tutorials, private lessons | Keeps short explanation gaps inside a clip |
If the first pass feels close but not quite right, that’s normal. The sliders are there to help dial it in.
Adjust window, minimum clip length, keep inside, and split after
When the preset doesn’t quite hit your boundaries, use the four sliders to tighten things up.
- Window controls how finely the tool scans. A shorter setting catches tighter boundaries. A longer one smooths over short dips in volume.
- Minimum clip length sets the shortest segment allowed. If you’re seeing lots of tiny fragments, move this up.
- Keep inside allows short silences to stay inside a clip instead of cutting it in two.
- Start with Split after. Move it up if you want the tool to wait for longer silences before making a cut. Move it down if separate ideas are getting lumped into one clip.
Review the segments after the first detection pass
After detection runs, the waveform fills with boundary markers, and a list of segment cards appears underneath. Treat this first pass like a draft, not the final word.
Look for two common issues. First, too many tiny snippets. If that happens, increase minimum clip length or Split after. Second, separate ideas packed into one long clip. In that case, lower Split after.
Clear out obvious junk segments before you move on. Then listen through each boundary and check whether the cuts land where you want them.
Audition boundaries and fix each segment
Once your draft segments are in place, go back and check each boundary one at a time. The first pass usually gets you close. This review is what tightens everything up.
Preview each boundary before keeping it
Start by checking the edges. Any time you move a start or end point, play the first or last second so you can hear the cut in context.
Listen for clipped consonants, chopped words, or awkward shifts in room tone or background noise. With speech, the cleanest edit usually falls on a natural pause, not right before a hard consonant or right after a word fades out. If a cut feels abrupt, move the boundary a tiny bit and replay the edge until it sounds smooth.
Drag, nudge, merge, split, delete, and rename clips
Each segment card lets you play, trim, download, merge, split, delete, or rename clips. You can drag boundary handles with millisecond precision, which makes small fixes easy, like bringing back a clipped first syllable or extending a clip so it includes the final word.
If the detector split things too aggressively, merge nearby clips. That happens a lot in interviews, lessons, and unscripted speech, where a short pause doesn't always mean a new section. If one clip holds two separate ideas, split it again at the most natural pause. And if something has no use, remove it: dead air, room-noise-only parts, repeated takes, or false detections caused by coughs, page turns, or mic bumps.
Before export, rename clips with clear labels like Intro, Chapter 3, Q&A, or Song 5.
Optional local word detection for finer speech edits
On supported browsers and devices, AudioMultiCut can use a local Whisper-based model to show approximate word timings on the waveform and segment cards. Use this for the few boundaries that need tighter placement. It is not speaker diarization.
When the final edges sound clean, export the clips locally as MP3 or WAV.
Export MP3 or WAV locally and wrap up
Choose MP3 for sharing or WAV for archive quality
Once your cuts sound right, pick the export format.
MP3 is smaller, so it’s the better pick for sharing. WAV keeps the full audio quality, which makes it the better choice for editing later or storing an archive copy.
Batch export named clips to your device
After you’ve named your clips, export them all in one batch.
The export runs locally in your browser, and each clip downloads to your device as its own MP3 or WAV file. Before you click export, make sure your browser allows automatic downloads for the site. If that setting is blocked, the files may not download as expected.
Once the download finishes, spot-check a few clips. Listen for clean starts, clean ends, and the right order. It only takes a minute, and it can save you from finding a bad cut later.
Conclusion: from one long file to clean speech clips
Open the file, cut it, refine the edits, name each clip, and export everything locally in one browser session.
FAQs
Why doesn’t Auto-Cut appear for my file?
Auto-Cut is built to save time on longer recordings, so it only shows up when your file is about eight minutes or more.
For shorter audio, manual splitting is usually the faster option. That’s why the feature stays hidden.
If your file is long enough and Auto-Cut still doesn’t appear, make sure you’re on a supported desktop browser like Chrome or Edge. Browser support and your system’s available resources can affect whether the feature shows up.
How do I tell if my recording is clean enough for silence detection?
Your recording is usually a good fit for silence-based detection when it has clear, steady gaps between the parts you want to split. It works best when there’s a clear silent spot, or at least a quiet stretch, between segments, like pauses between spoken lines or gaps between songs.
If the audio is packed tightly or has a lot of talkback with no clean breaks, manual boundaries may give better results. A simple way to start is to test the Auto-Cut presets, then adjust the split sensitivity or fine-tune the boundaries on the waveform if needed.
What should I adjust if the cuts are too early, too late, or too choppy?
Open Manual override in the preset row to fine-tune detection.
If your segments feel too choppy, increase Split after or Min clip. If the cuts land too early or too late, lower Split after or drag the segment start and end handles on the waveform. As you adjust each boundary, the editor plays that exact spot back, which makes timing tweaks much easier.
Related articles
Cut your recording into clean clips
Upload an audio file, mark the parts you want, preview every cut, and export the finished clips.