
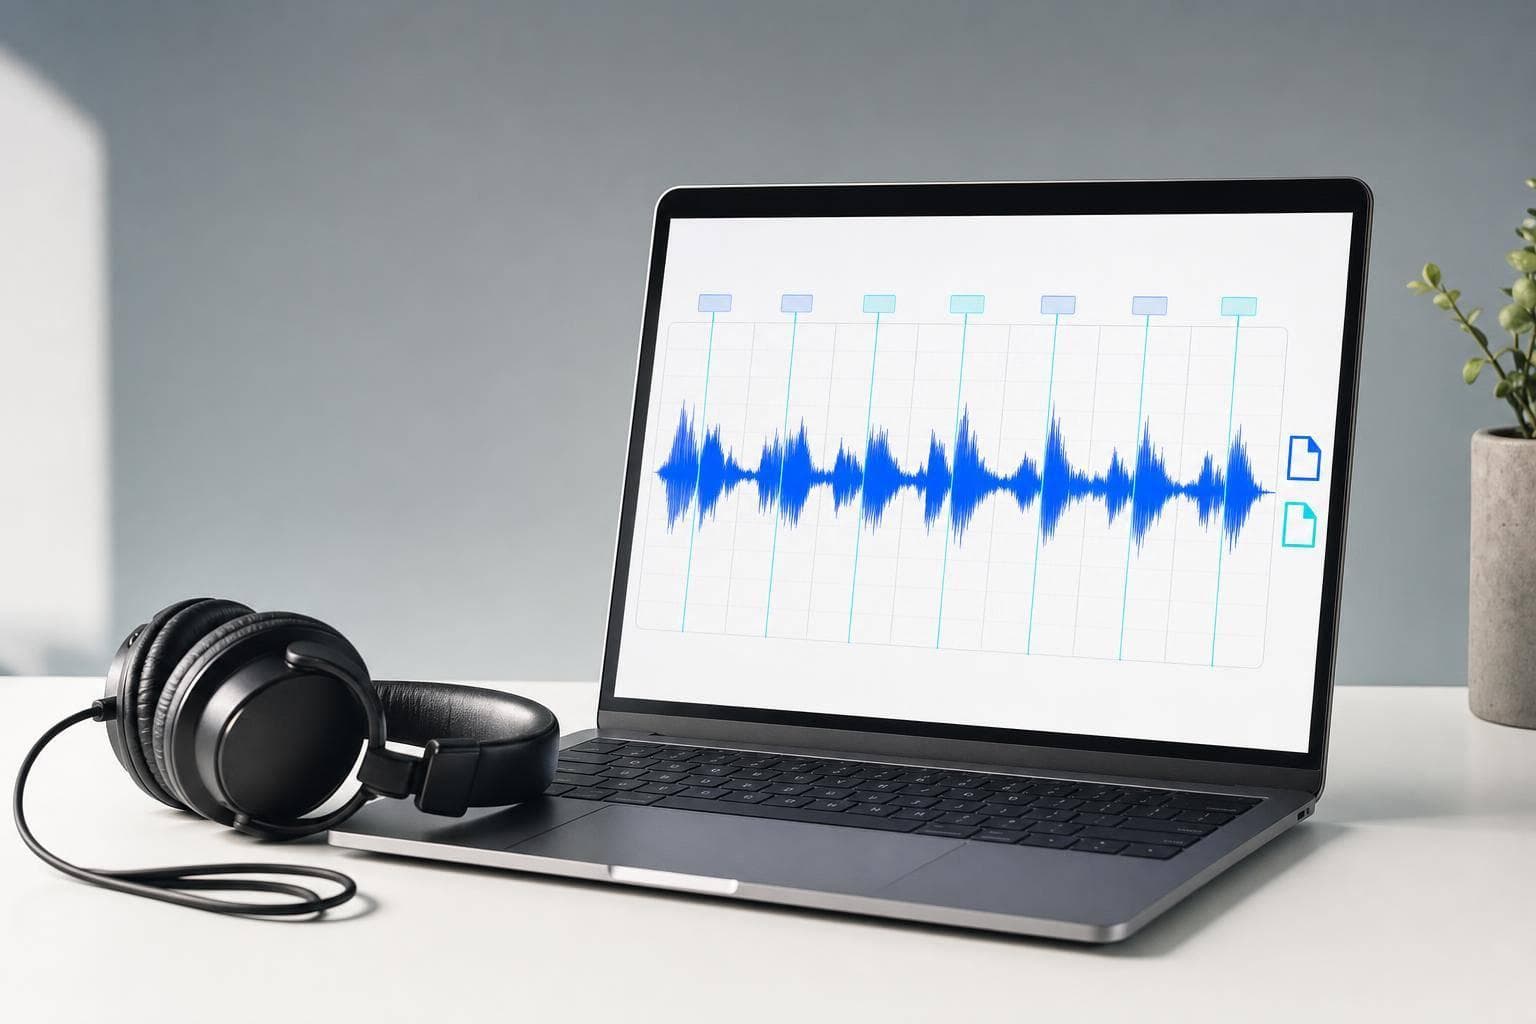
Batch Export Regions From One Waveform
If I need to turn one long recording into many files, I don’t export clips one by one. I mark regions once, name them well, choose MP3 or WAV, and export the whole batch in one pass.
That’s the whole workflow in plain English. I split one waveform into many regions, clean each cut by listening to the start and end, use silence detection when the gaps are clear, and then export all clips together. This works well for long rehearsals, lectures, podcasts, and Voice Memos.
Here’s the short version:
- I import one long file, such as MP3, WAV, M4A/AAC, OGG, FLAC, or AIFF.
- I mark each region on the waveform and check the edges with headphones.
- I can use Auto-Cut first if the recording has clear silence between parts.
- I name files in order, like
01_Intro,02_SongName,03_Encore. - I pick WAV for more editing or MP3 for sharing.
- I export the full region list at once, then check file count, names, and clip edges.
- If one cut is off, I fix that region and export only that file again.
A few numbers make the format choice easier:
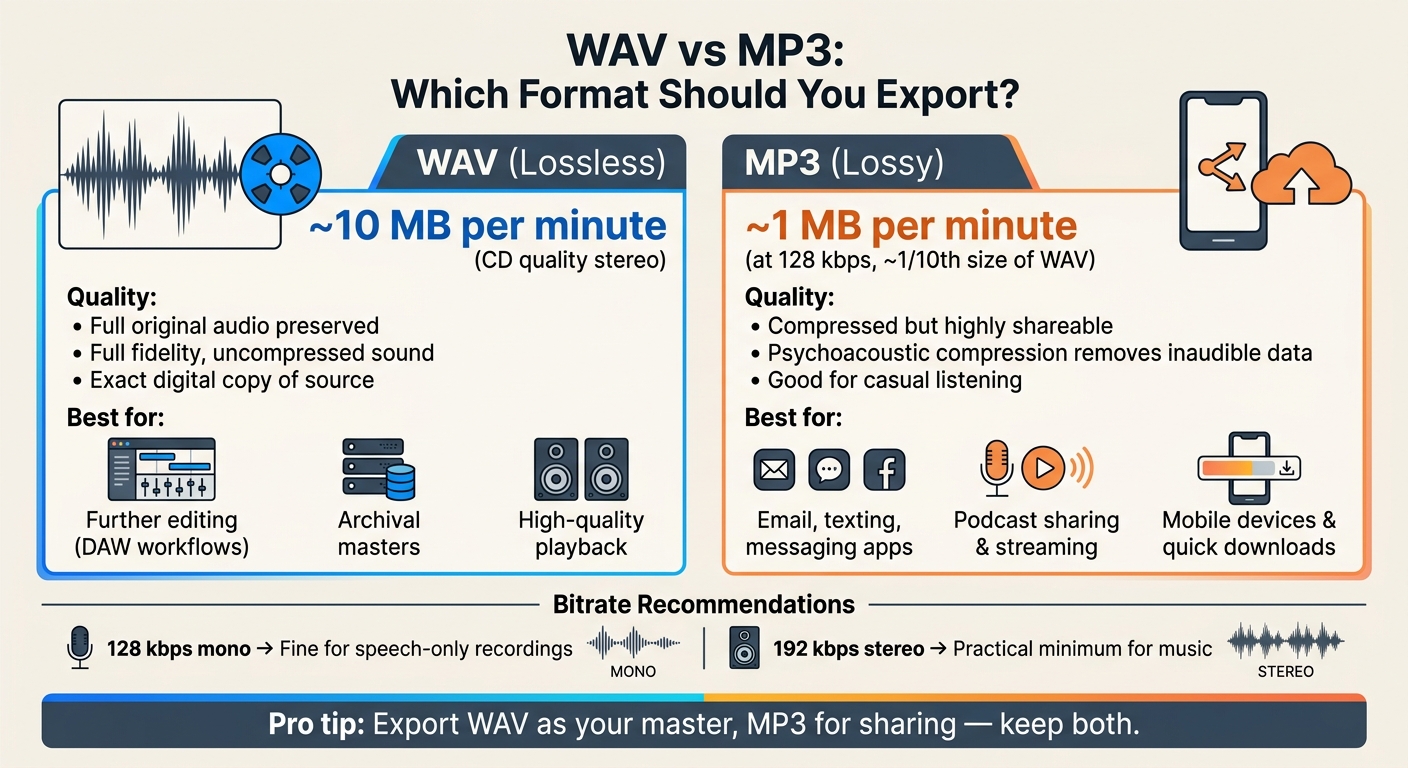
- WAV: about 10 MB per minute at CD quality
- MP3 at 128 kbps: about 1 MB per minute
- 128 kbps mono: fine for speech
- 192 kbps stereo: a good floor for music
This method cuts repeat work. Instead of trim → rename → save over and over, I do the setup once and let the export handle the split.
How to batch export multiple audio regions in Logic Pro X
sbb-itb-9696877
Prepare the Recording and Mark Clean Regions
Clean regions can turn into clean files in a single export pass.
Import One Long File or Extract Audio from Video in a Supported Format
Start with the best source file you have. Common long-recording formats include MP3, WAV, M4A/AAC, OGG, FLAC, and AIFF, and a browser workflow like AudioMultiCut's web app can open those formats.
Use WAV if you plan to keep editing. Use MP3 if the clips are just for sharing.
Before you load a long recording, close heavy tabs and make sure you have enough free disk space. Then open the file and start marking clip edges on the waveform.
Set Region Boundaries Manually and Listen to Each Edge
After the waveform loads, zoom in until individual words or drum hits are easy to see before you place any boundaries. Put the start point just before the first sound, and set the end after the fade, reverb, applause, or ring-out.
The most reliable way to check each cut is to loop a few seconds around the boundary. For speech, listen for clipped "s" or "t" sounds at the start or end of a phrase. For live music, let the last chord or cymbal ring out all the way, even if that adds a second or two to the clip.
Wear headphones for this pass. A cut can look fine on the waveform and still sound off when you hear it.
If the recording has clear pauses, use Auto-Cut for a fast first pass.
Use Auto-Cut for Silence Detection, Then Fix the Misses
When a recording has clear silence between clips, Auto-Cut is a good place to start. Run it first, then merge, delete, and nudge regions by hand where needed.
If Auto-Cut makes too many splits, raise the minimum silence duration.
Name Regions and Pick MP3 or WAV Before Export
WAV vs MP3: File Size & Quality Guide for Batch Audio Export
Once the region edges are clean, give each region a clear name and choose the export format. Do both before you export.
Name Regions So They Export as Clean Filenames
In batch-export workflows, each region label usually becomes the exported file name. So if you use labels like clip or segment, you’ll just create more work for yourself later. That kind of renaming step cancels out the whole point of batch export.
A simple naming pattern works best. Use a clear sequence with leading zeros so files sort the right way in Finder, File Explorer, or a DAW: 01_Intro, 02_SongName, 03_Encore.
Stick to filename-safe characters:
- Letters
- Numbers
- Underscores
- Hyphens
Avoid / \ : * ? " < > |. Those characters aren’t allowed in Windows filenames, and they can also cause export or sync problems. It also helps to make every name different, so the order stays obvious at a glance.
Choose WAV for Further Editing and MP3 for Sharing
WAV is lossless, which means it keeps the original audio intact. That makes it the better pick when clips are going back into a DAW or being kept as archival masters. The downside is file size. A stereo WAV can take up about 10 MB per minute at standard CD-quality settings.
MP3 is lossy, but the files are much smaller - about 1 MB per minute at 128 kbps, or roughly one-tenth the size of WAV. That makes MP3 a good fit for texting clips, emailing lecture segments, or sending podcast highlights.
For quick speech-only files, 128 kbps mono is a solid baseline. For music or anything with more depth, 192 kbps stereo is a practical minimum.
Use WAV for editing or archiving. Use MP3 for sharing through email or messaging. A common setup is to export both: keep the WAV files as your internal masters, and make MP3 versions for sharing. AudioMultiCut exports MP3 or WAV.
With the names and format set, you’re ready to batch export.
Run the Batch Export and Check the Results
Set Export Options for the Full Region List
With your regions named and cleaned up, export the full list in one go. Before you click export, scan the region list one more time. Remove or uncheck anything that shouldn’t leave the session: false starts, tuning breaks, or off-topic chatter.
A lot of tools give you Select All and Deselect All controls, along with per-region toggles. That makes it much easier to clean up a long list without clicking around forever. In a 90-minute rehearsal with 20 marked regions, for example, a band might deselect two false starts and one tuning segment, leaving 17 usable clips to export in a single pass.
Set the file format once for the whole batch:
- WAV if you plan to keep editing
- MP3 if you just need to share the files
Export everything into one project folder so the batch stays together and is easy to find later.
Export All Clips and Spot-Check File Count, Names, and Edges
Once the export finishes, check the file count first. If you enabled 12 regions, you should see 12 files. If the number is off, one region may have been left unchecked, or the browser may have blocked the batch downloads. If you’re using a browser-based tool, allow automatic downloads for that site so the batch doesn’t get cut off mid-process.
Next, look at the filenames. They should read clearly and sort in the right order. After that, spot-check the first, middle, and last clips. Listen to the opening few seconds and the ending few seconds of each one. You’re checking for clipped starts, cut-off endings, or extra silence.
If one clip has a bad edge, fix that region once and re-export only that file. No need to run the full batch again.
How Batch Export Cuts Time on Long Recordings
This is where the time savings start to show. Manual export means doing the same loop again and again: trim, rename, save, download. It gets old fast.
Batch export cuts that down to one pass. Mark the regions, name them, export once, and keep going.
The same workflow carries into the browser and iPhone examples below.
Browser and iPhone Workflow Example With AudioMultiCut
How the Browser App Fits This Job
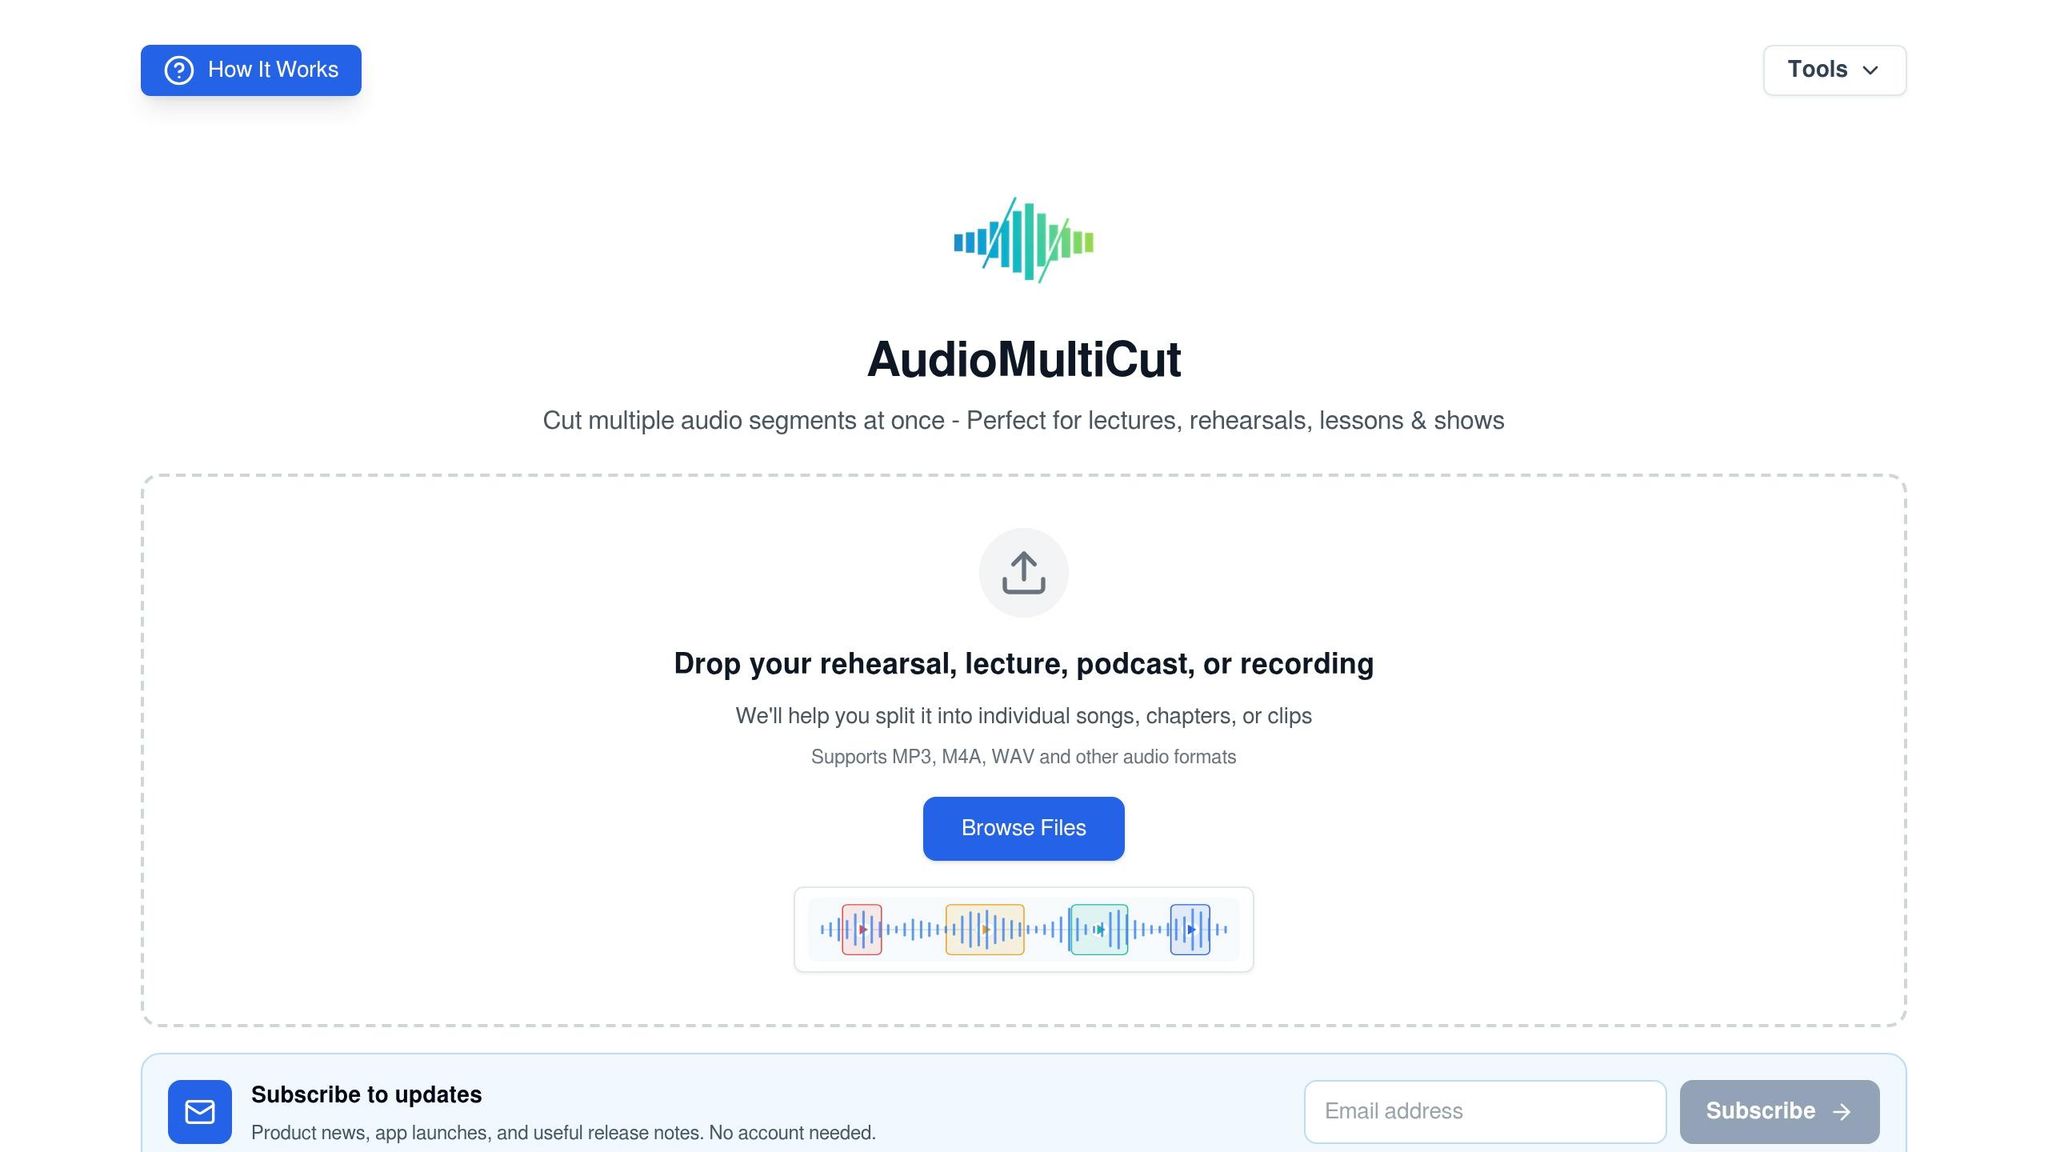
Here’s what that workflow looks like in AudioMultiCut on browser and iPhone. AudioMultiCut is made for one clear task: take one long recording, mark many segments on a single waveform, and export them in one pass. That lines up with the region-first workflow used in this guide.
The browser app runs locally, opens MP3, WAV, M4A/AAC, OGG, FLAC, and AIFF files, and exports to MP3 or WAV. That’s a big deal when you’re working with sensitive recordings like business meetings, classroom sessions, or unreleased rehearsals.
For recordings 8 minutes or longer, the Auto-Cut feature can suggest split points based on silence with presets like Rehearsal Songs, Lecture Chapters, or Podcast Clips. It works well as a first draft. After that, you can clean up the boundaries by hand. If your browser asks for permission to allow automatic downloads, approve it so the clips can download one after another.
On iPhone, the same workflow carries over, with saved projects and quick sharing added to the mix.
How the iPhone App Handles Long Voice Memos and Saved Projects
The iPhone app (iOS 18+) uses the same core workflow, but it adds a few things that make mobile editing much easier. You can import straight from Voice Memos, Files, or Photos, which means a long Voice Memo can go right into editing without extra steps.
This matters most when you need to fix a cut later. The main mobile advantage is saved projects. If you notice that one boundary is slightly off, you can reopen the project, adjust that segment, and export only the corrected clip. When everything looks right, batch export sends all clips at once to Messages, WhatsApp, Telegram, AirDrop, or Files.
Conclusion: Mark Once, Export Once, Stay Organized
Saved projects make it easy to fix one boundary and re-export without rebuilding the whole session.
FAQs
How do I fix one bad clip after batch export?
You don’t need to reprocess the whole session. In AudioMultiCut, just find the segment in your segment list and adjust its start or end controls.
As you nudge the boundaries, the tool plays the audio around the edit so you can check the change on the spot. Once it sounds right, download only that clip again.
When should I use Auto-Cut instead of manual region marking?
Use Auto-Cut for longer recordings - usually 8 minutes or more - when splitting things by hand starts to drag. It gives you a fast, silence-based first pass for suggested segments.
Go with manual region marking for shorter recordings, tighter audio, heavy talkback, or anytime Auto-Cut needs cleaner, more exact boundaries.
Should I export both WAV and MP3 versions?
It depends on what you plan to do with the exported files.
Choose MP3 for sharing, quick follow-ups, web content, or lighter video workflows. The files are smaller, so they’re easier to send, upload, and store.
Choose WAV if the clips will go through more editing, move into a DAW, or need to fit a pro production or game asset pipeline. WAV keeps the highest audio quality for that next stage.
Related articles
Cut your recording into clean clips
Upload an audio file, mark the parts you want, preview every cut, and export the finished clips.